03.25.11
How To Build A Tripod Plate For Multiple Cameras For Less Than $12
When I go down to Florida next month to view the launch of Space Shuttle Endeavour (STS-134), I would like to watch as much of the launch as possible through my own eyes, rather than through a camera lens.
I want to take photos and videos of the launch, though, but I don’t want to mess with too much stuff (i.e., adjusting multiple tripods as the shuttle goes up).
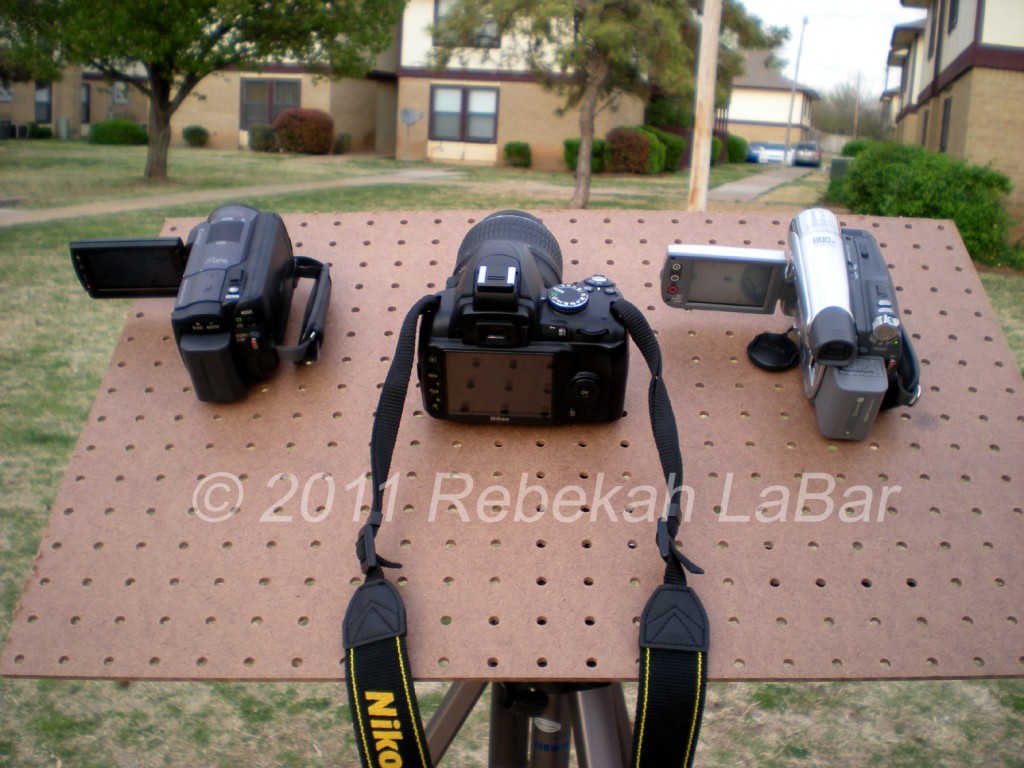
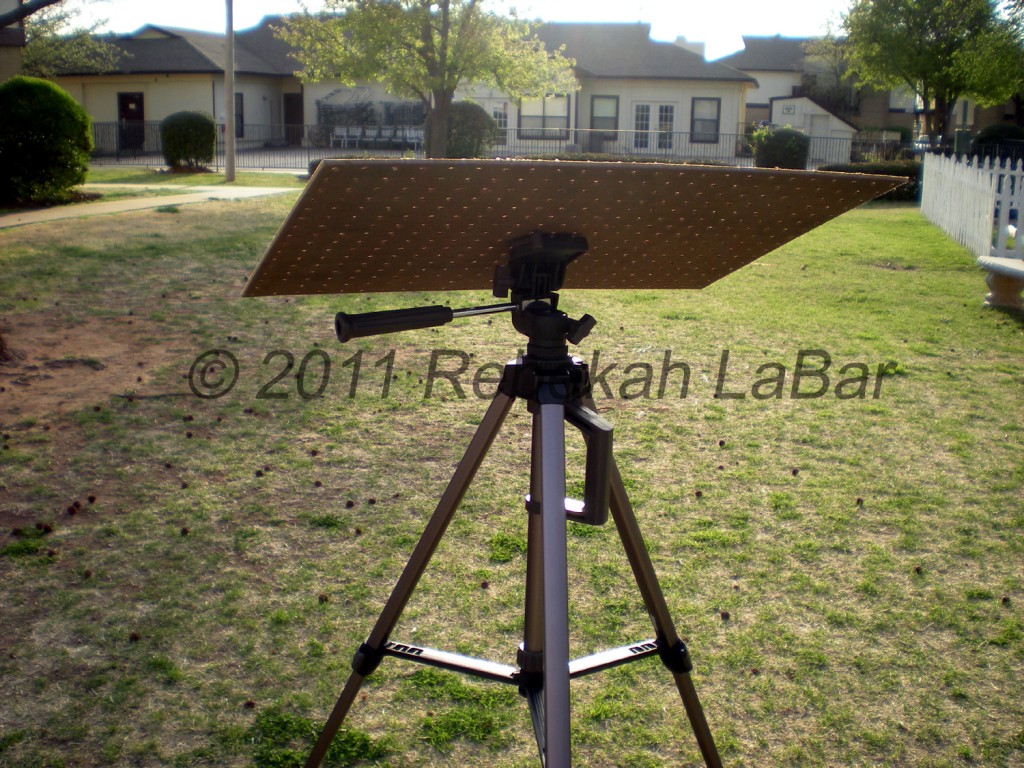
Enter the idea of a tripod plate that will mount to one tripod but allow multiple cameras/camcorders to be attached.
I know you can buy these, but they can be pretty pricey, and I figured it might be better and cheaper if I just made one to suit my own purposes.
I’m sure there are better ways of doing this, but here’s how I built my tripod plate for less than $12 and in about 30 – 45 minutes.
-
- Supplies (prices listed are from Lowe’s):
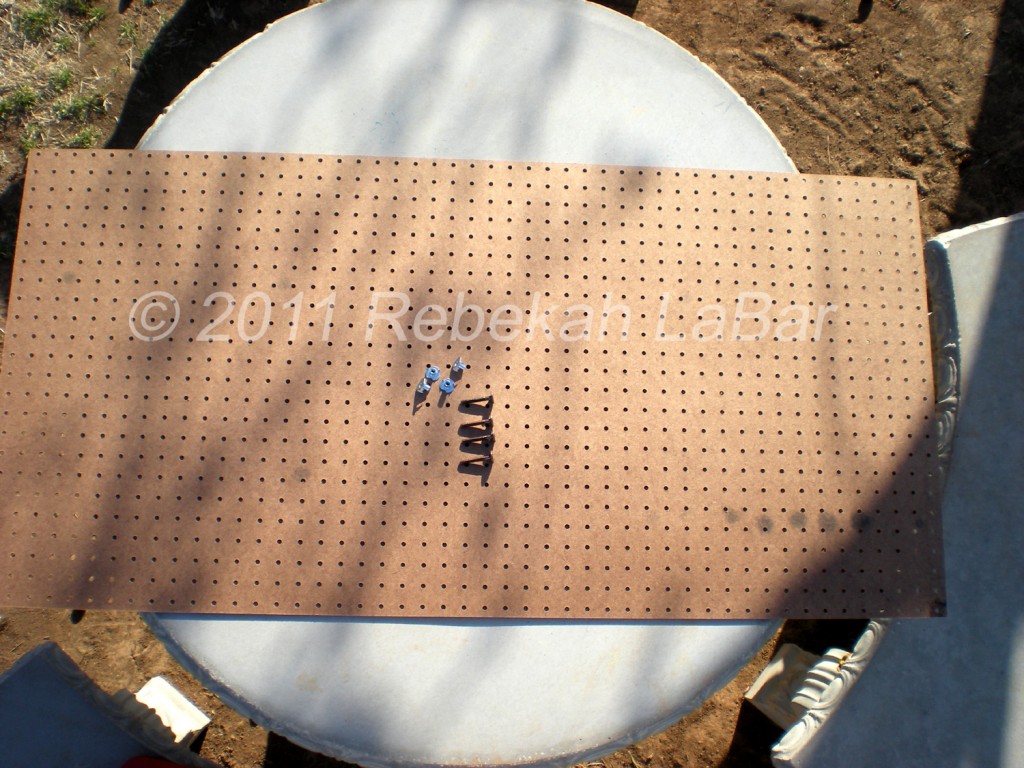
- hardboard pegboard (3/16 inches by 2 feet by 4 feet) – $4.92
- four 3-prong T-nuts (1/4 inch – 20 thread; 7/16 inch barrel height) – $2.30
- four bolts (1/4 inch – 20 thread; 40 mm long) – $3.53 (I only used 3, but they came in a package of 4…also, I’ll probably be getting shorter bolts soon as these are a little long for the width of the board)
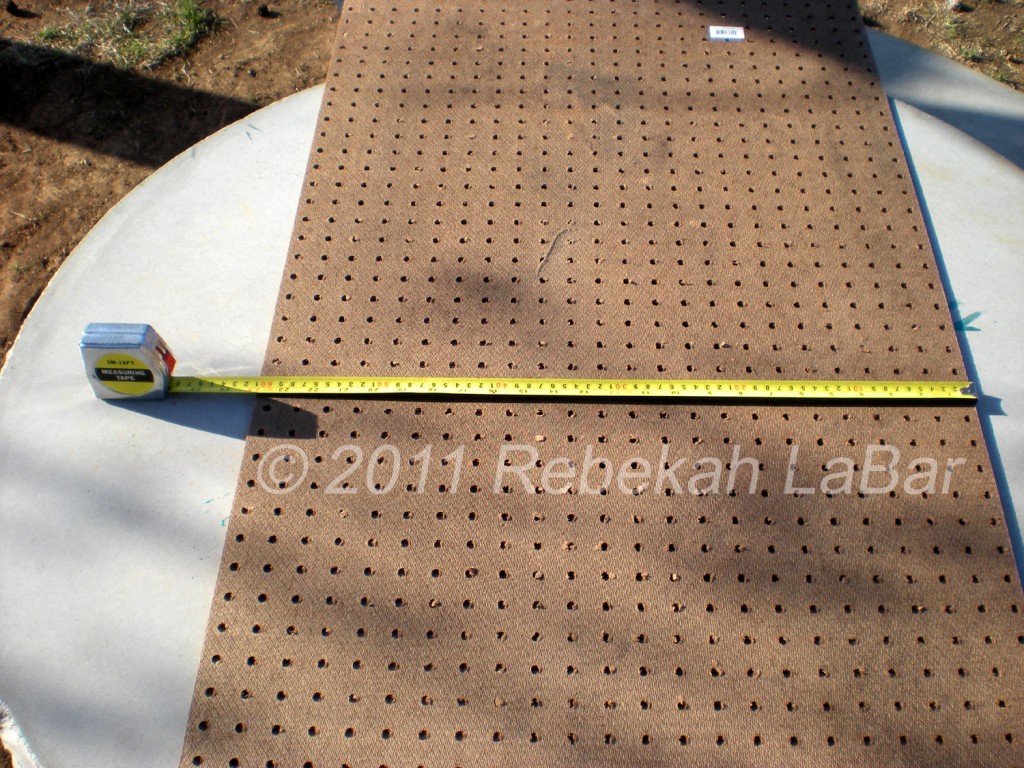
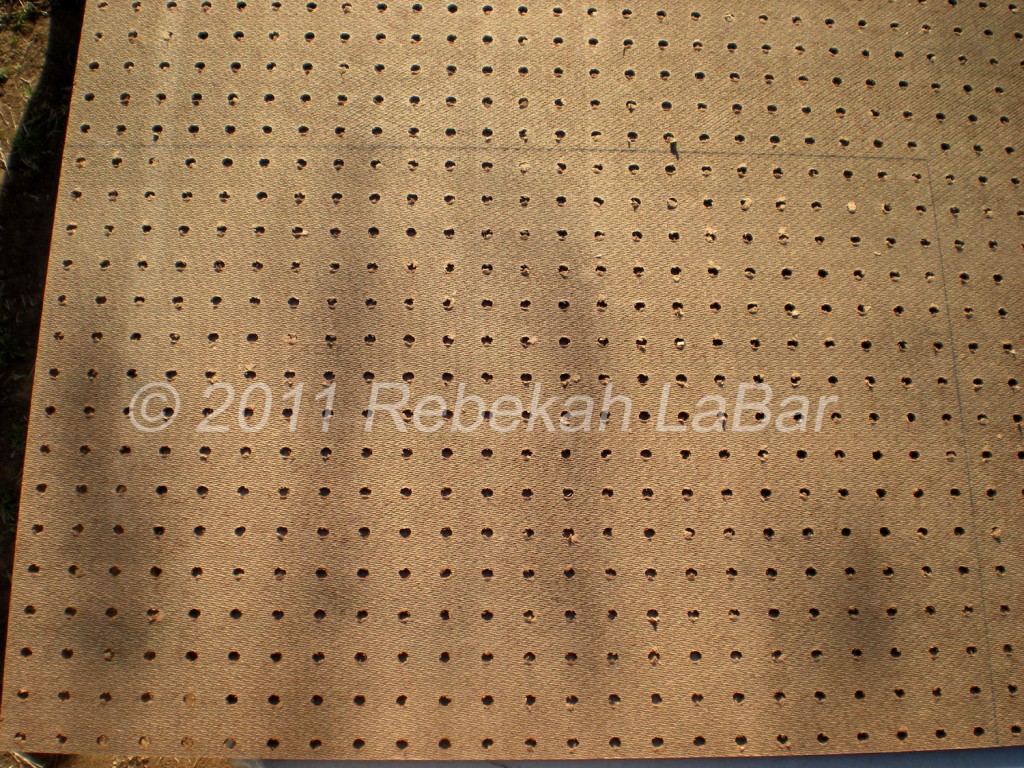
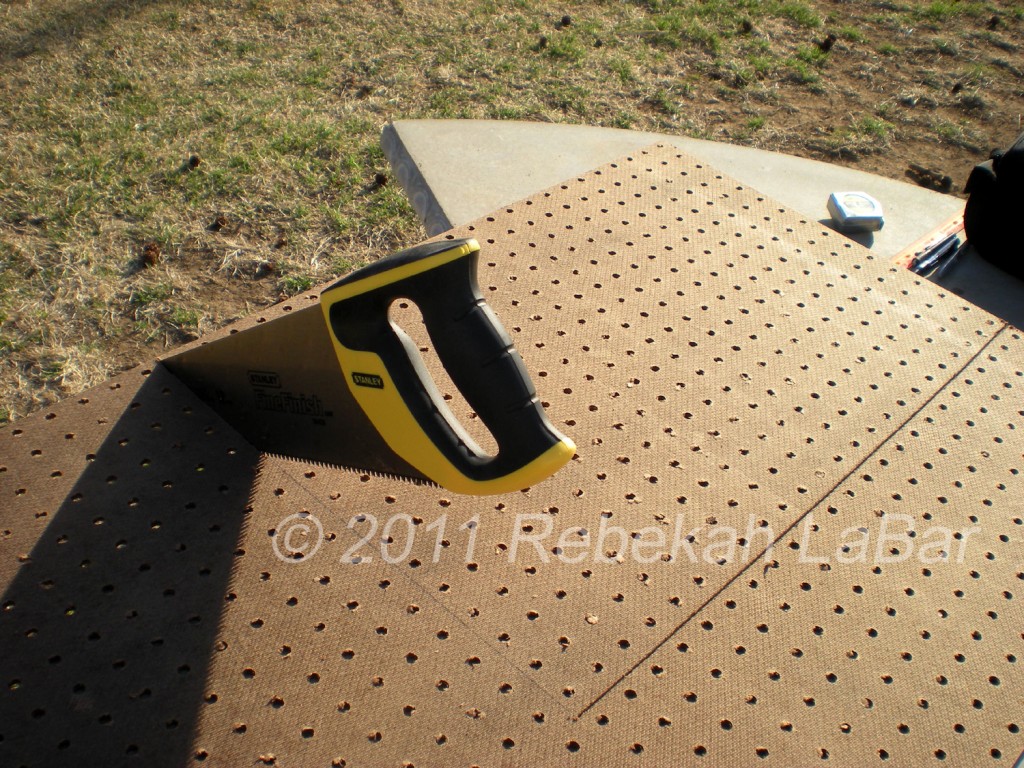
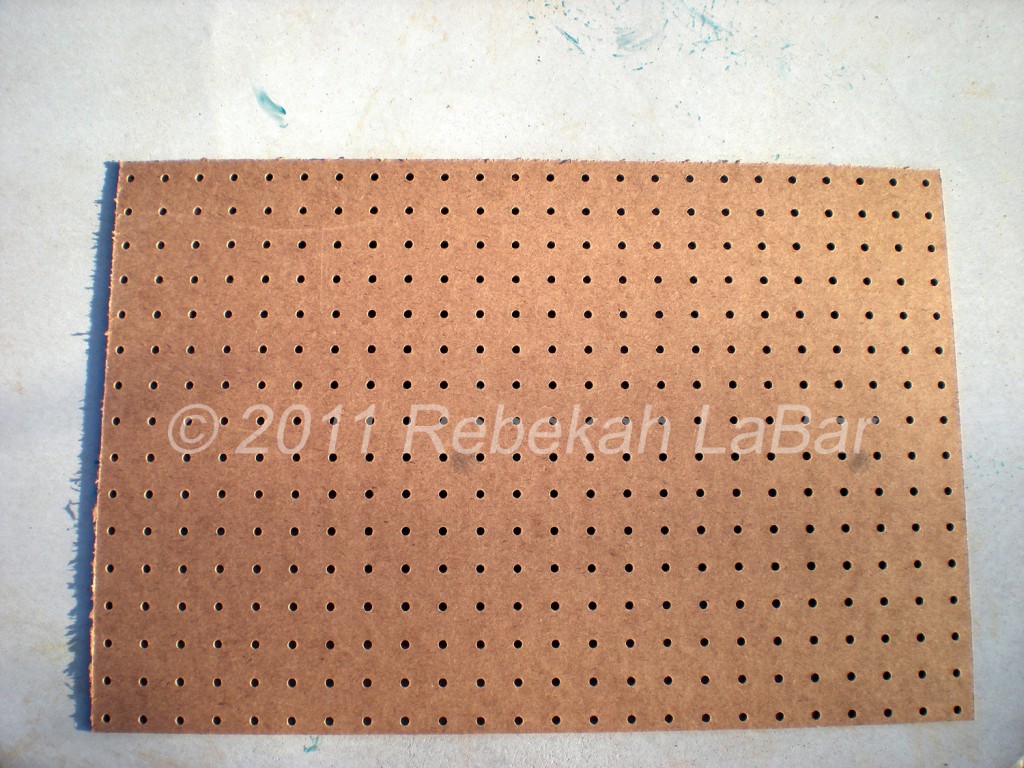
- Measure pegboard and use a pencil to draw the size (I started with 16 x 24 inches, to leave a margin of error, but may cut a bit off later)
- Supplies (prices listed are from Lowe’s):
-
- Cut it out
-
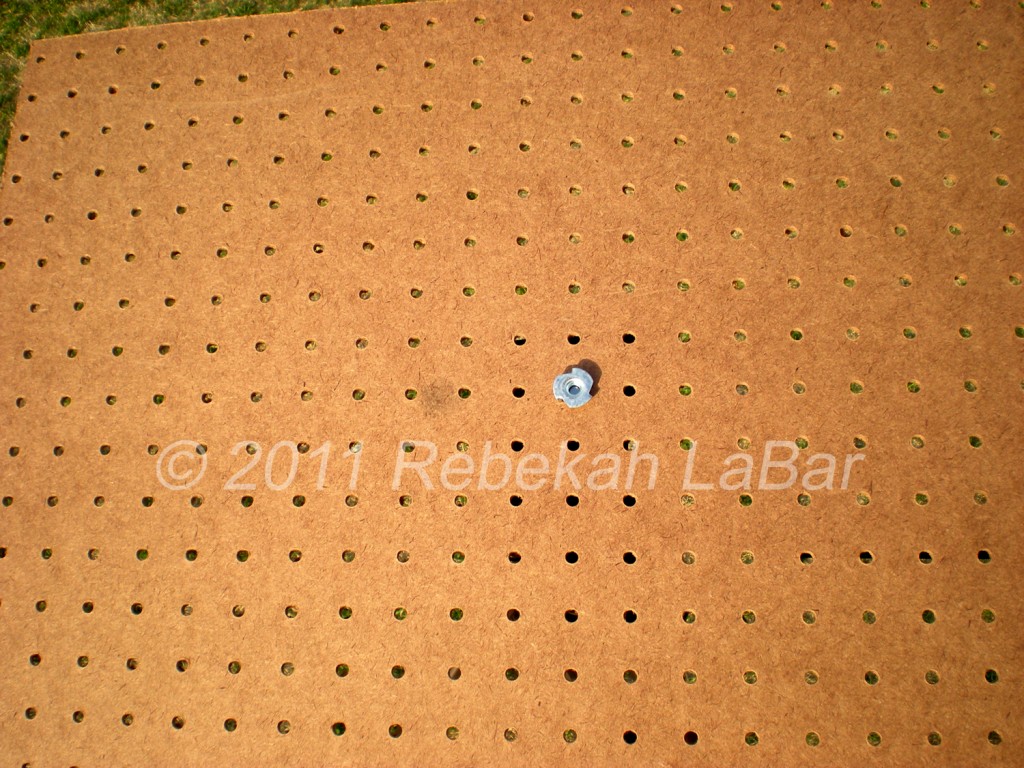
- Insert a T-nut into the center of the board; the bolt in the tripod’s quick-release plate will screw into this nut. I used a knife to make the desired hole a bit wider, then used a hammer to pound in the T-nut
-
- Place T-nuts in other desired holes in the board, for cameras and camcorders
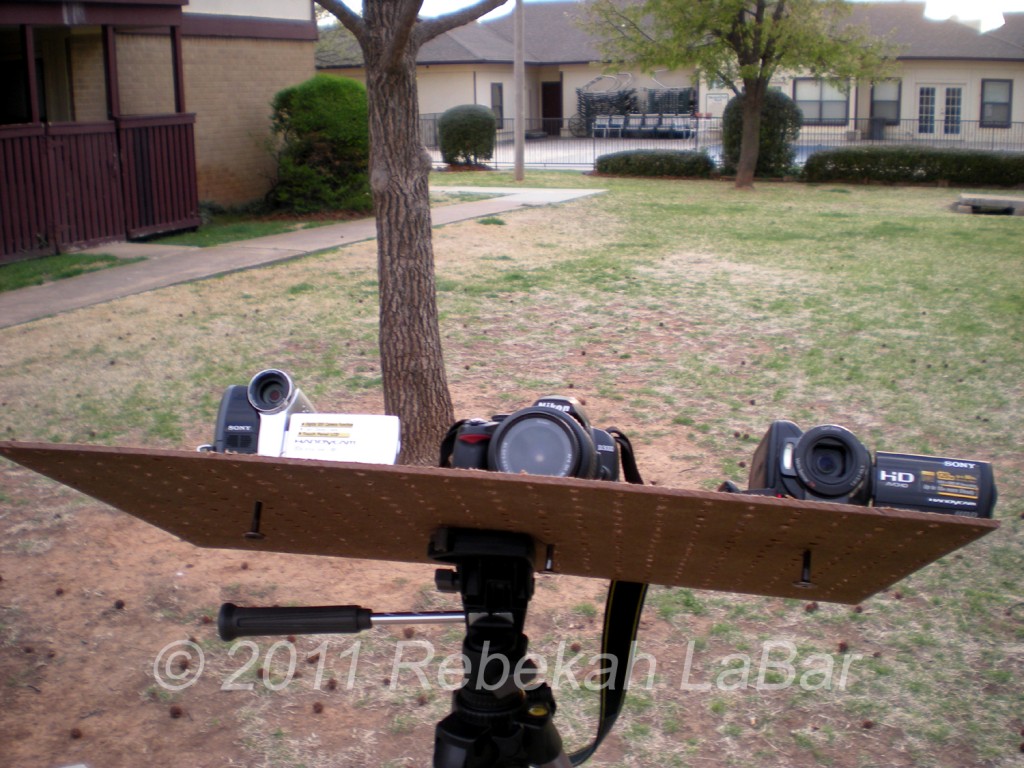
- Screw bolts in the other side of the holes (using an Allen wrench, if necessary), through the T-nuts and into the screw holes on the camera devices, and that’s it!
A few thoughts:
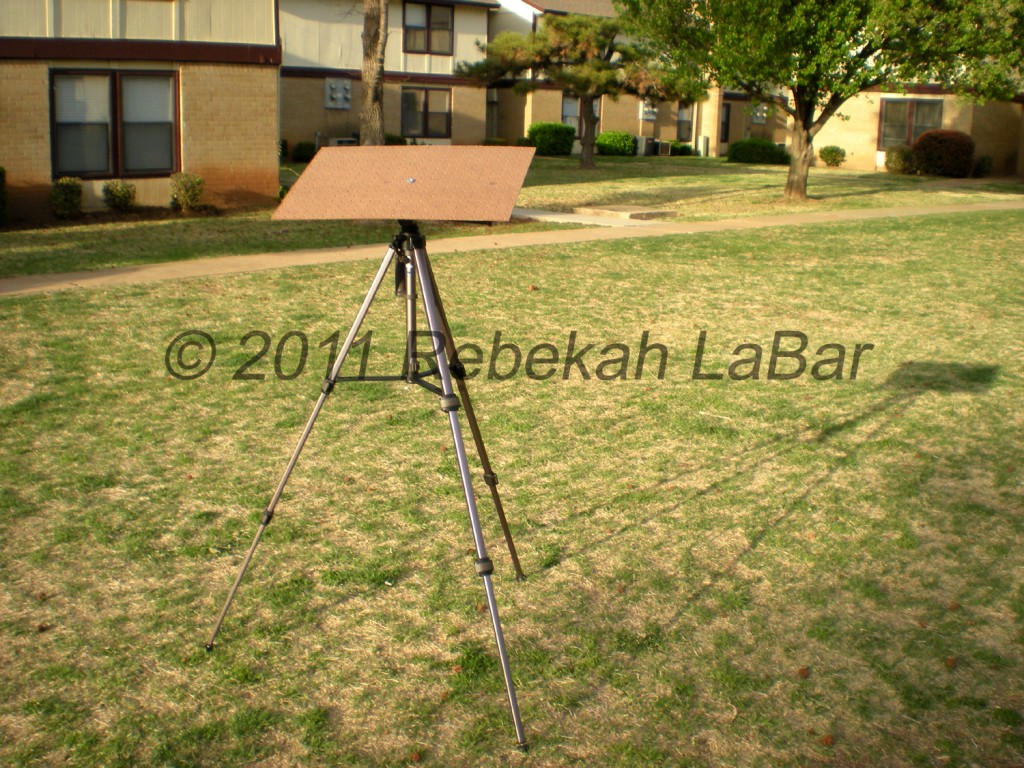
- Make sure the weight is distributed right; my tripod plate leans very slightly to one side, but is better as I pan the tripod head up. I have thought about attaching some sort of weight to the plate to balance it out, but it’s not too bad so I may wind up leaving it.
- My bolts are a little long; as you can see, they stick out the bottom a fair ways. I will probably look for shorter bolts before going to Florida. While these bolts may be alright, the camera/camcorder may wind up rotating a tad when you move the plate up and down. However, this could also be an advantage, as I might want to move the camera/camcorder from side to side a bit.
- I thought I might to need to build a back for the plate, to give some support to the cameras/camcorders as the plate tilts up. However, the T-nuts and bolts are more than sufficient to keep the camera devices from sliding around, so this may not be necessary.
- I still might want to cut more off the back end of the board, but I like that it’s big enough to have the camcorder LCD screens open and long enough to support a longer camera lens (I will be putting a longer, telephoto lens on for the launch).
I’ll still have to do more testing, and practice using it, but so far I’m pretty pleased with my new tripod plate. Now I should be able to take photos (I can use my remote control for my DSLR), HD video, and possibly stream video with another camcorder, all while only adjusting one tripod!
I’ll let you know how it goes after the launch!
